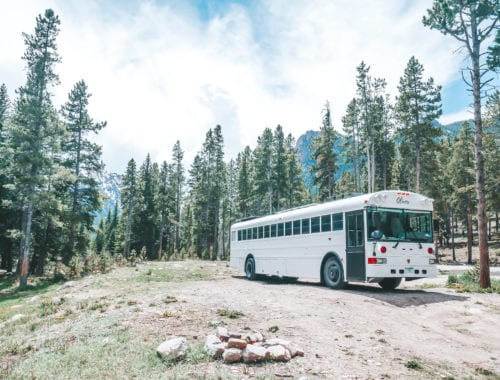
Our Skoolie Layout – Updated!
Update: This post has been updated to reflect the changes we’ve made to our skoolie layout, including the new front area!
One of the most fun parts of the school bus conversion process is choosing your skoolie layout.
There’s no shortage of examples out there to gain ideas from, and as a matter of fact, there are so many good layouts floating around Pinterest and Instagram that you may have a hard time narrowing them down, to be honest. We did.
The trick was creating the space we wanted while paying attention to practical issues like where the wheel wells were and how to cover them.
After extensive research, and learning why people did certain things at the beginning and what they would change after the fact, we finally had a plan.
And then we re-did it again, and again, and again – times about 30.
While we were building we found certain ideas wouldn’t work for one reason or another. Sometimes, things needed to be moved to accommodate the water tanks, and the plan changed again.
OUR SKOOLIE LAYOUT
Since we started posting the build, we’ve received countless emails and messages on Instagram asking about the details of the build that aren’t pictured in our feed. One of the most common questions is about the actual skoolie layout itself.
Several months after we had completed our build, we ended up ripping out the bunk beds and exchanging them for a murphy couch, so we’ve updated this old post to reflect the changes.
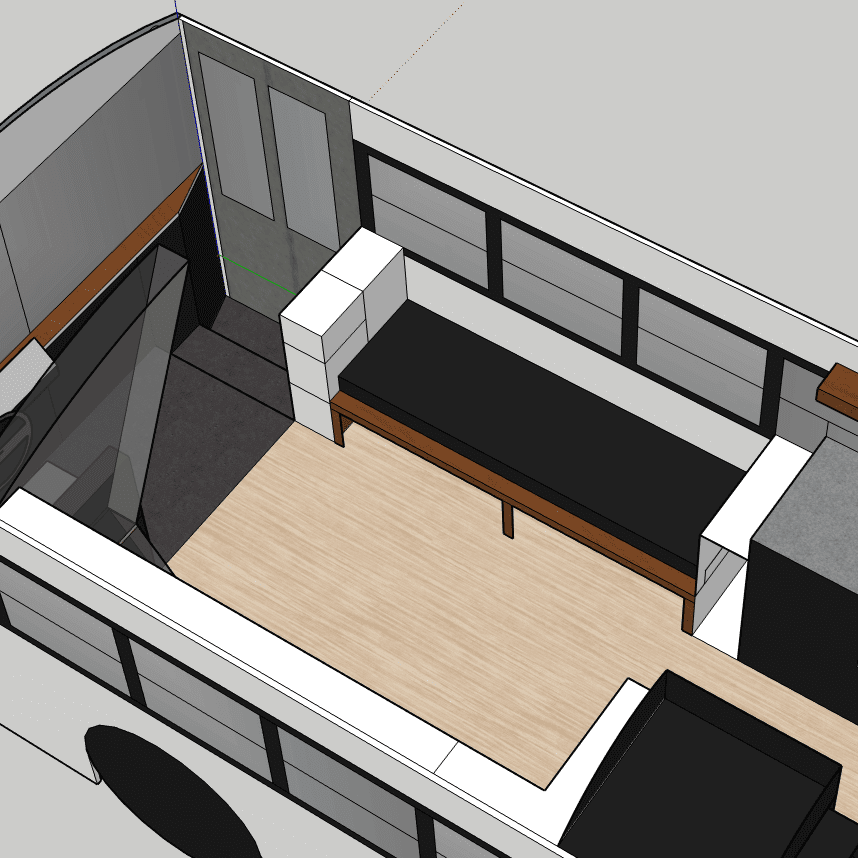
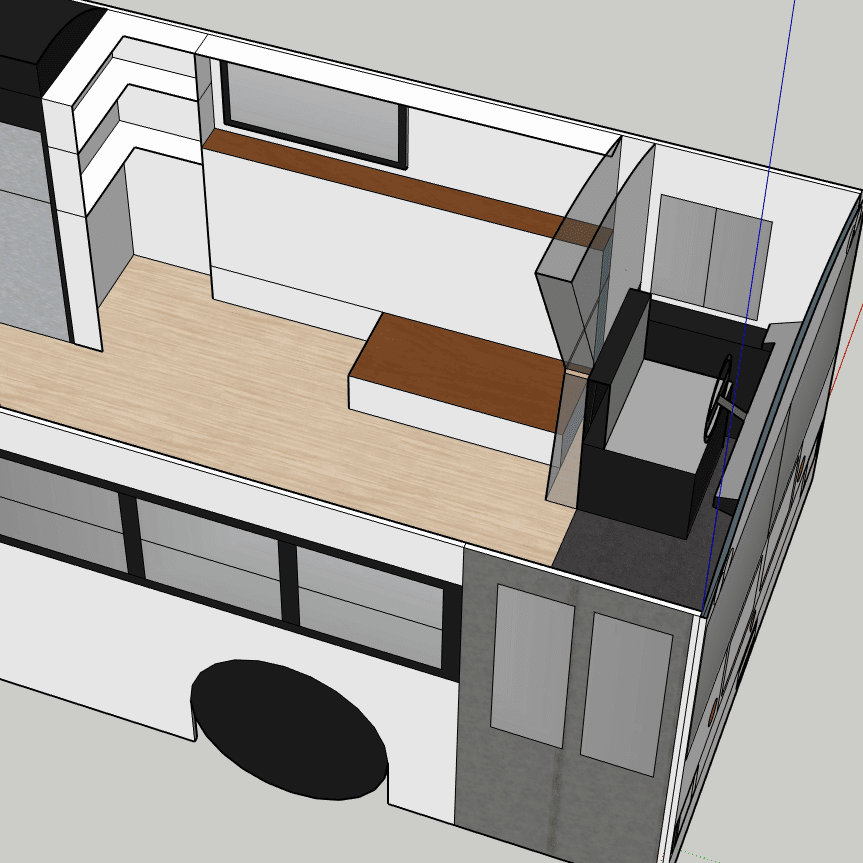
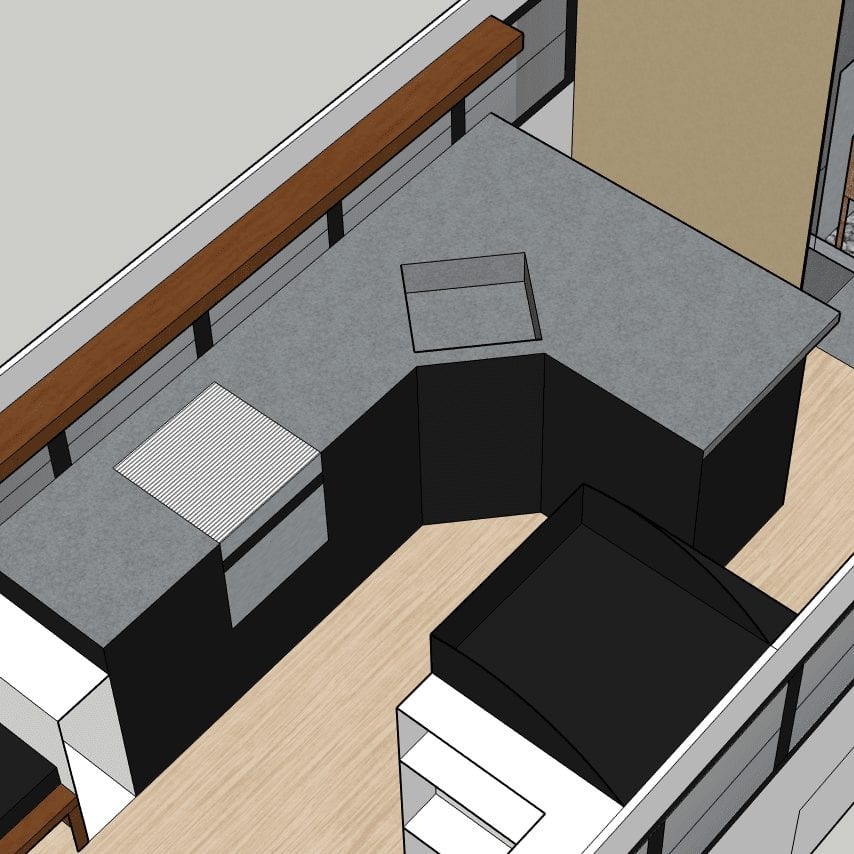
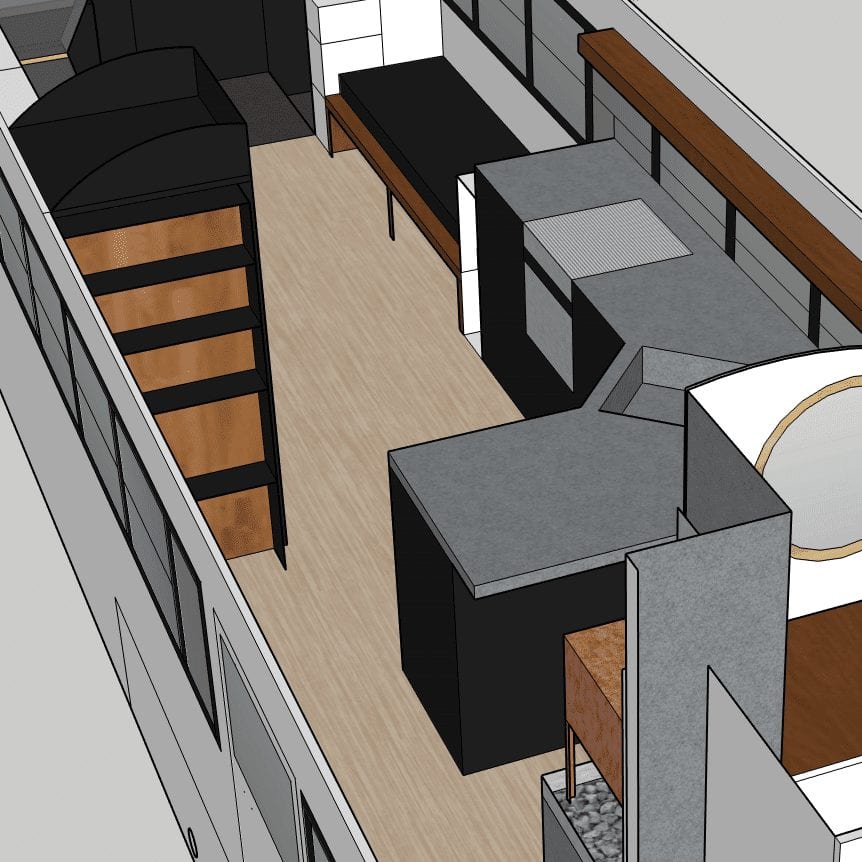
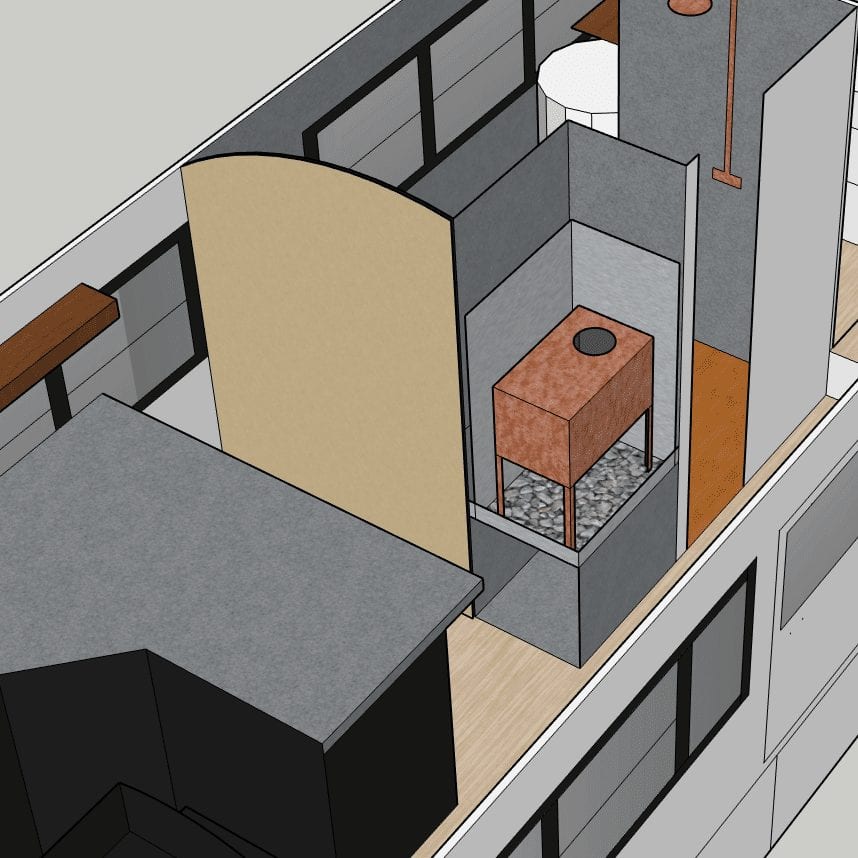
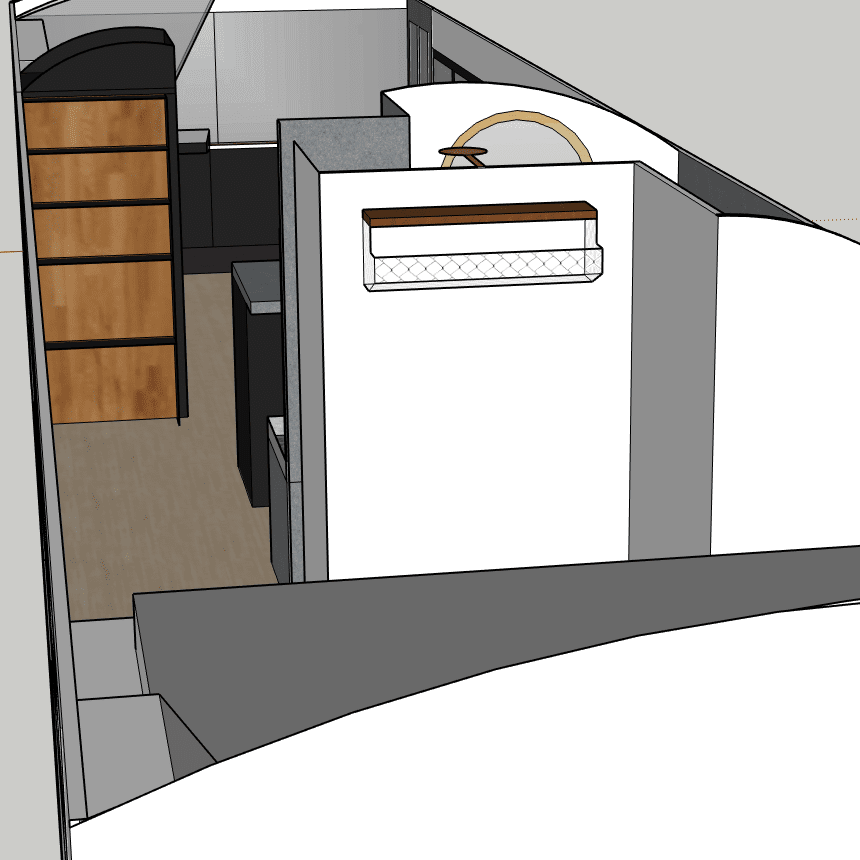
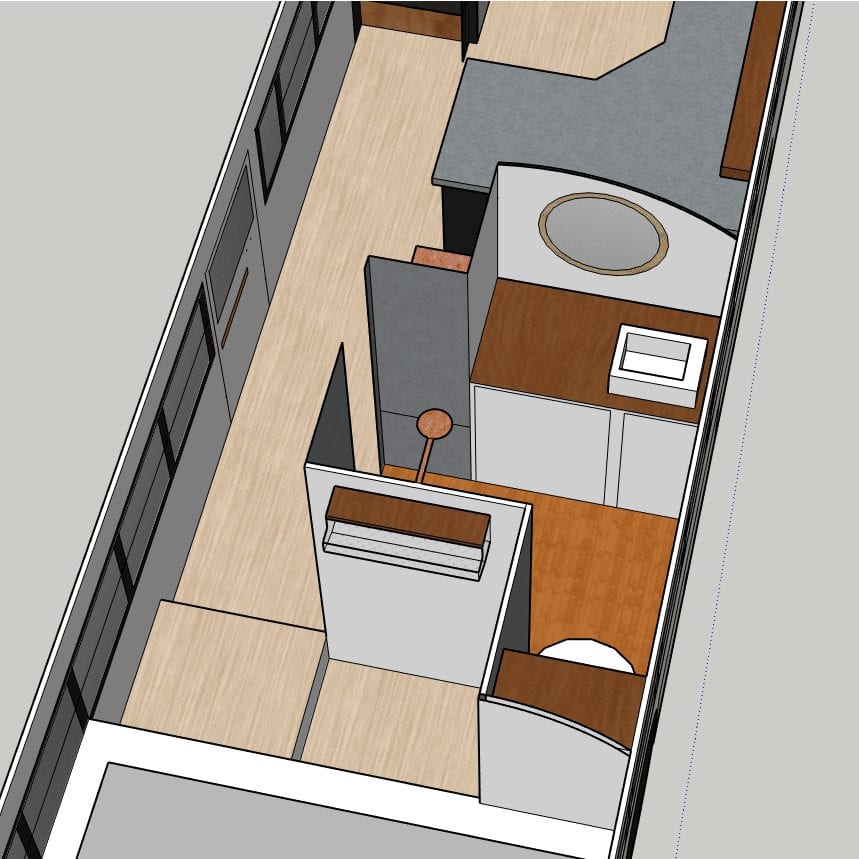
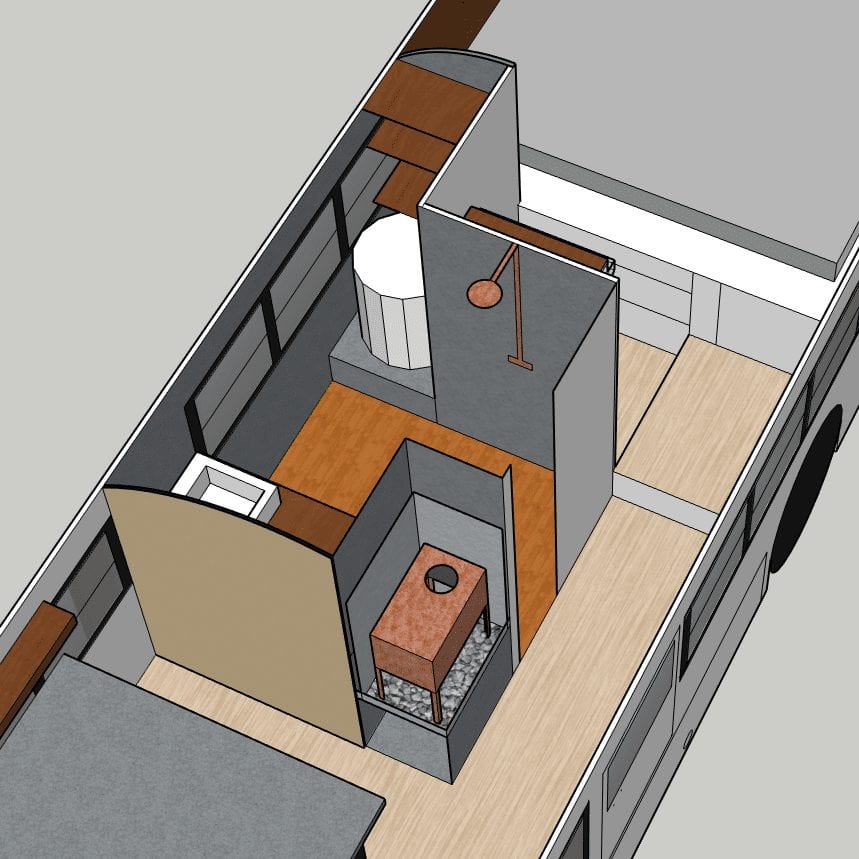
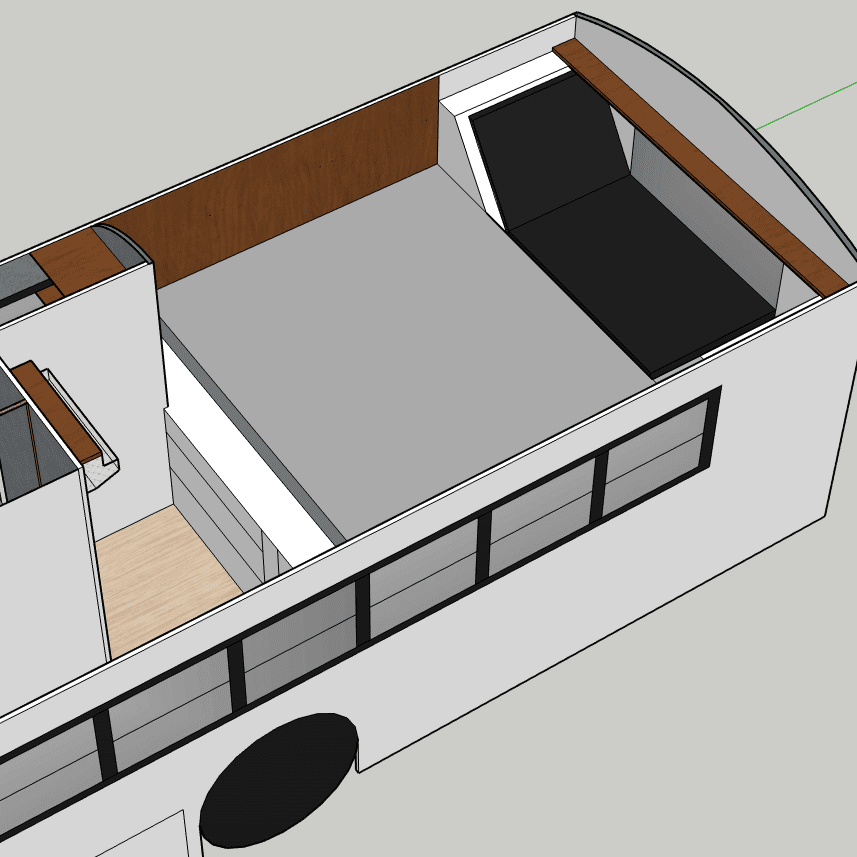
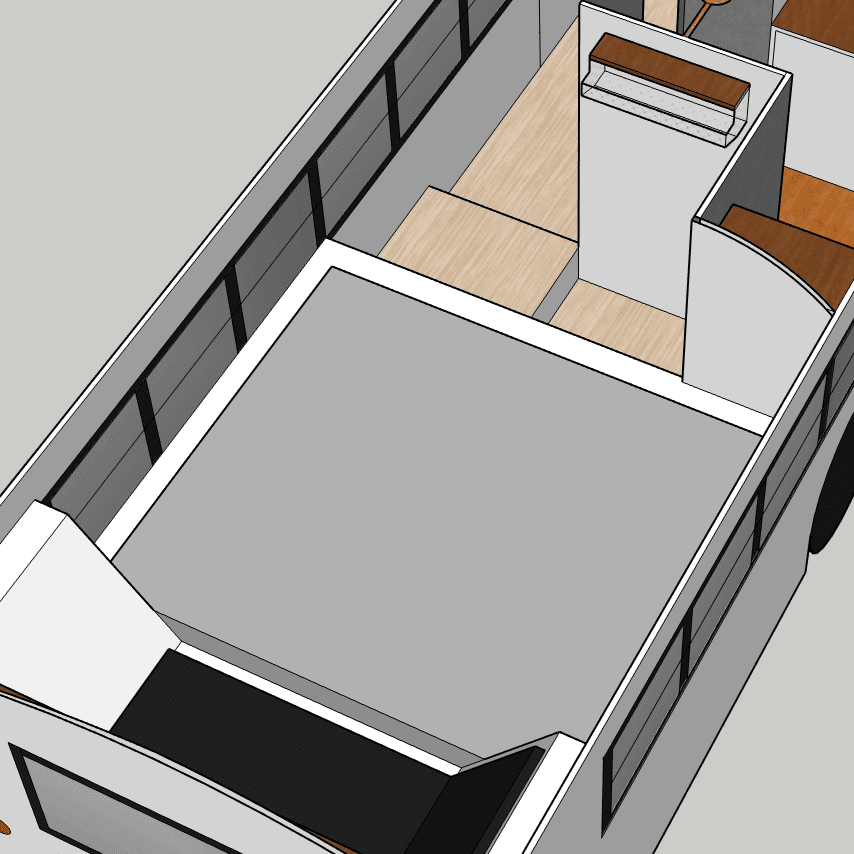
Below is our final diagram of the build that is almost true to scale, from several different angles.
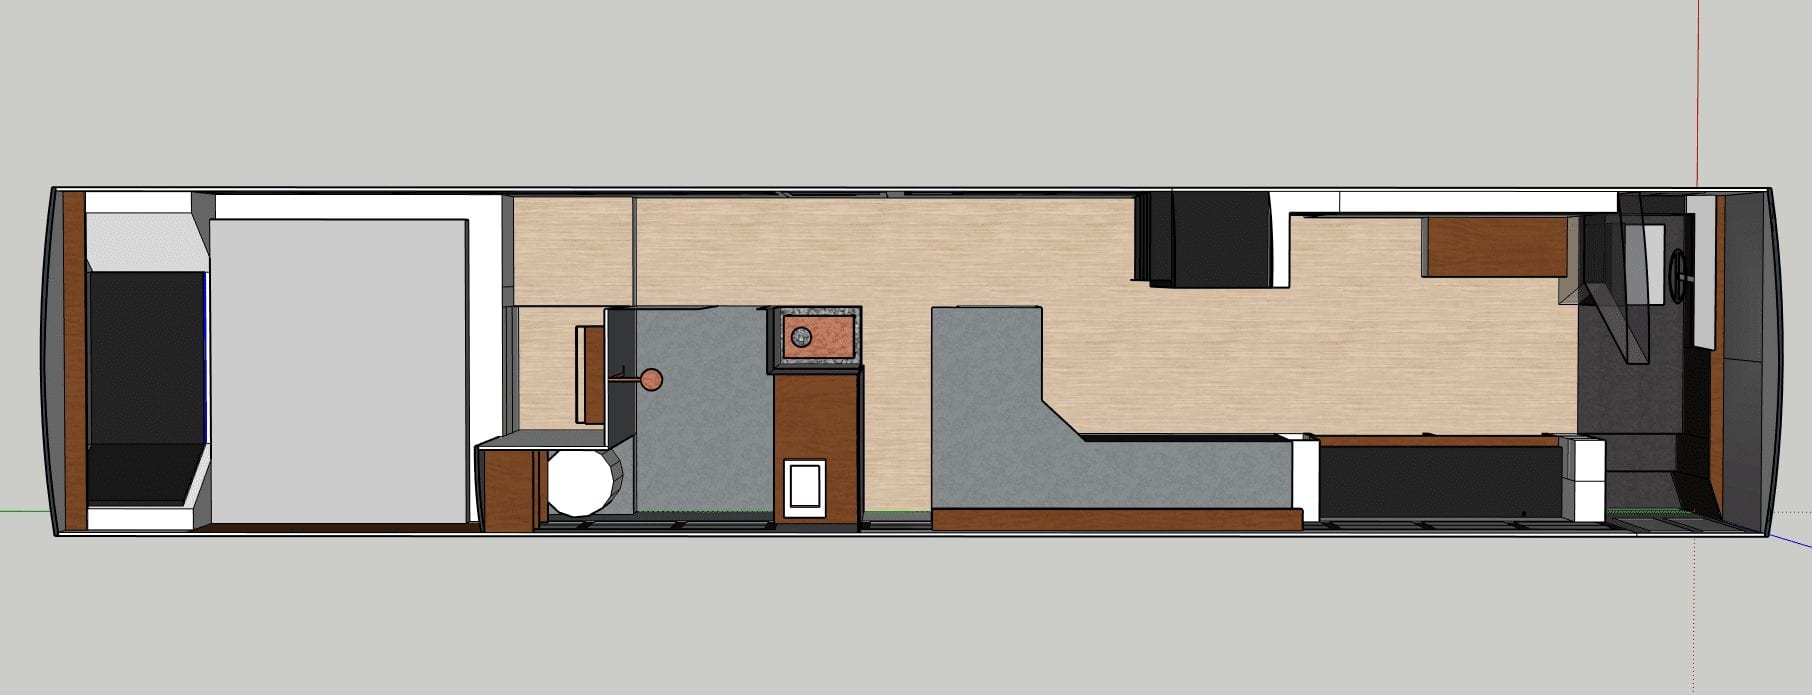
LIVING AREA
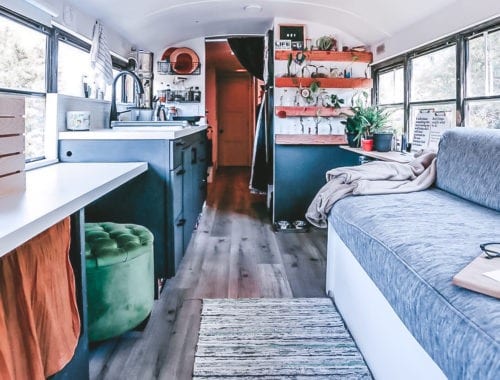
Starting at the front, there’s a shelving unit “mudroom” to hold keys and bags, and shoes. When we aren’t driving we have insulated panels that fit perfectly into the front windows, and there are coat hooks to complete the “room” effect. A sheer curtain divides this area from the rest while keeping it feeling open.
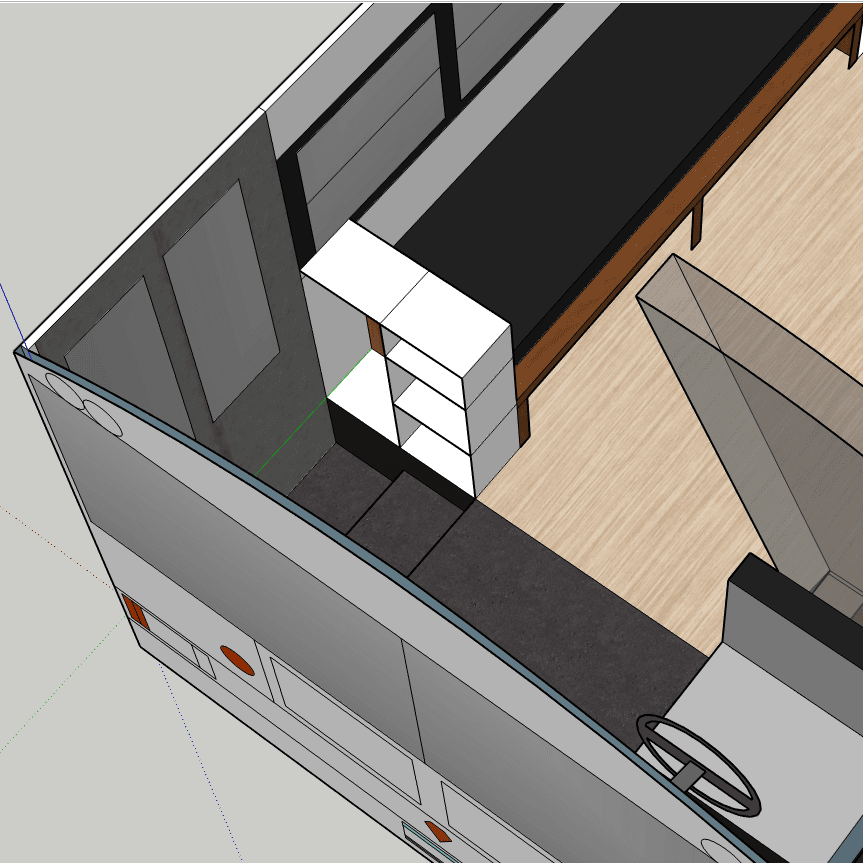
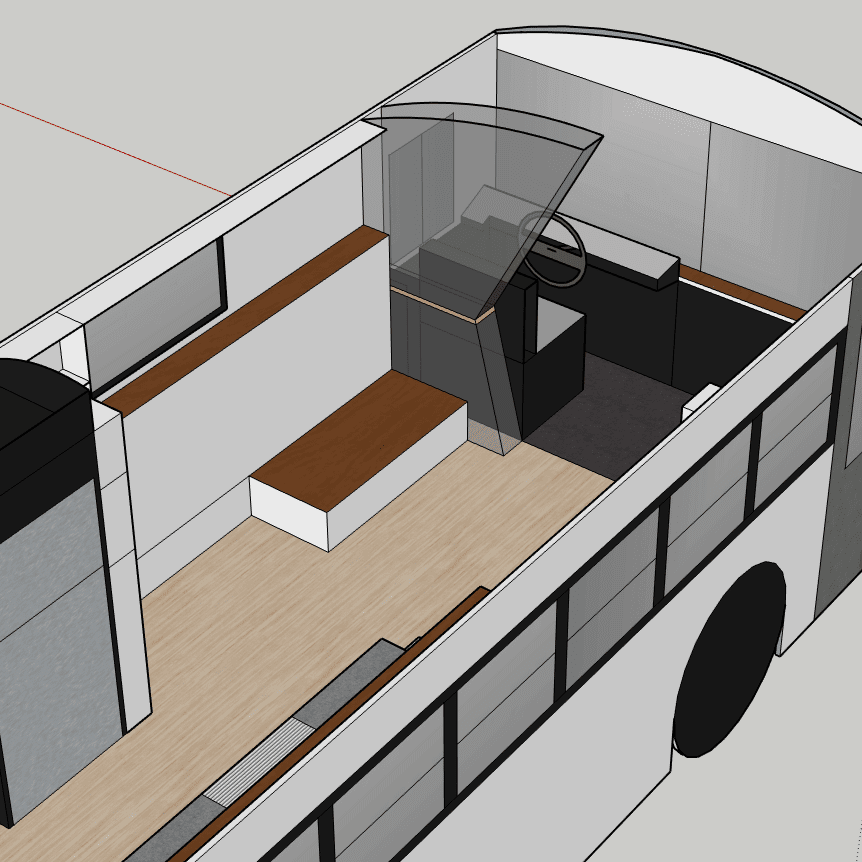
Right behind that, there’s a seven-foot-long couch that has a ton of storage underneath. We use wire storage bins that fit perfectly underneath to store electronics, paperwork, bedding, and craft supplies. At the far end of the couch is an open cupboard that fits a fold-up table the perfect size to fit between the two couches for game night.
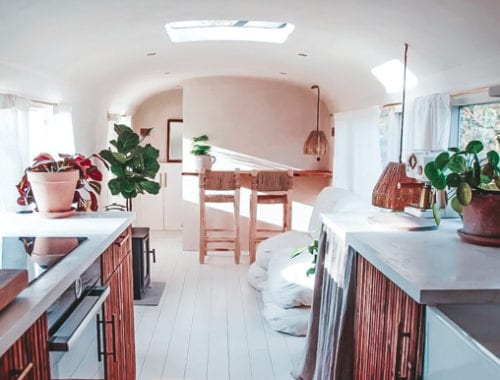
Straight across is an entertainment center that has a fold-down murphy couch. When it’s folded up, it’s hidden as a mantle. Our 40″ TV is on a swiveling, pullout stand above it that allows us to move it around so the whole room can see it. An L-shaped shelving unit finishes out the entertainment center.
KITCHEN
The refrigerator is an almost full-size standalone unit that can use either electricity from our solar system or propane, and across the way is an L-shaped bank of kitchen cabinets. There’s a cupboard for the garbage and cleaning supplies, three large drawers that hold all the dishes, an open-style cabinet that holds pots and pans under the stove, and two large pantry cupboards for food.
The kitchen features a three-burner gas range and a built-in sink with a truly amazing kitchen faucet that we LOVE, feather finish concrete countertops, and a breakfast bar with seating for four with stackable stools.
Beside the fridge is an open shelving unit we created from an old map that hung in our old house. We used elastic on the front to hold our copper-lidded dry-good glass jars in – they’re easy to get out but don’t move as we drive.
A floating shelf runs the length of the kitchen, and magnetic spice jars are lined up on the ceiling above it for quick access.
HALLWAY
Right behind this is a pretty cool corkboard wall with a cork map overlay, and built into this is the wood stove nook.
We scored a vintage-style Jotul stove for $40 that someone had around back in a junk pile, and we built a concrete/metal surround for it in order to show off the awesome rust color we chose to leave on it.
The side door is still usable, and we use it during the winter to bring wood in. Moving down you’re in a short hallway that leads to the master suite and the bathroom, which closes with a sliding barn-style door.
BATHROOM
We built the bathroom wetroom-style, with a large copper showerhead on the wall as you come in.
Our Nature’s Head composting toilet has its own little room on one rear wheel well, with a shelving unit behind it for towels and toiletries. Across the way is a small basin sink with a matching copper faucet, with a washer/dryer combo built in underneath, and our “utility closet” that houses our water pump and on-demand hot water heater.
We did the whole thing in the same feather finish concrete we used on the kitchen counters and wood stove surround.
BEDROOM
Around the corner, over a small step that covers the last wheel well, you enter the master suite.
We built the bed platform-style with a ton of storage underneath that we use to store camping gear and other items we don’t need daily. The top is divided into four sections that lift independently to make it easier to get underneath. In the center are three HUGE drawers that pull out from the front (about 3×3 each) and house our clothes and shoes.
We also have a small shelf with hooks for some frequently used items on the wall.
A lot of people choose to wall off the rear engine compartment of their bus, but I couldn’t handle the thought of covering that gorgeous huge window up – so we painted and upholstered a special mattress and turned it into a reading nook beside the bed.
As a matter of fact, we chose to leave as many of the windows uncovered as possible for the natural light. The ones we did cover (behind the bunk beds and fridge, in the bathroom, and behind our headboard) we simply insulated over.
In order not to have anything show through on these windows (as attractive as fluffy pink fiberglass insulation is) we first used a special kind of dark window film that acts as a thermal barrier and one-way tint. It makes all the windows appear black from the outside, and also helps gives us a little privacy.
We tried to explain it all as well as we could, but if you have questions about our skoolie layout – just ask! Email us at info@sincewewokeup.com.

