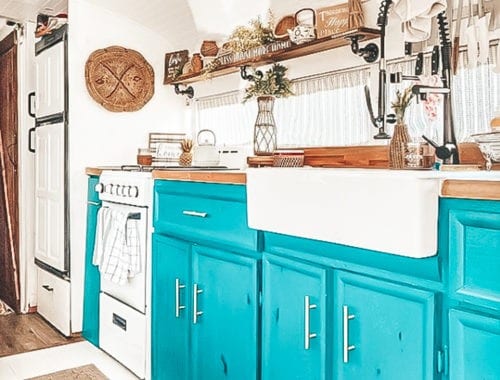
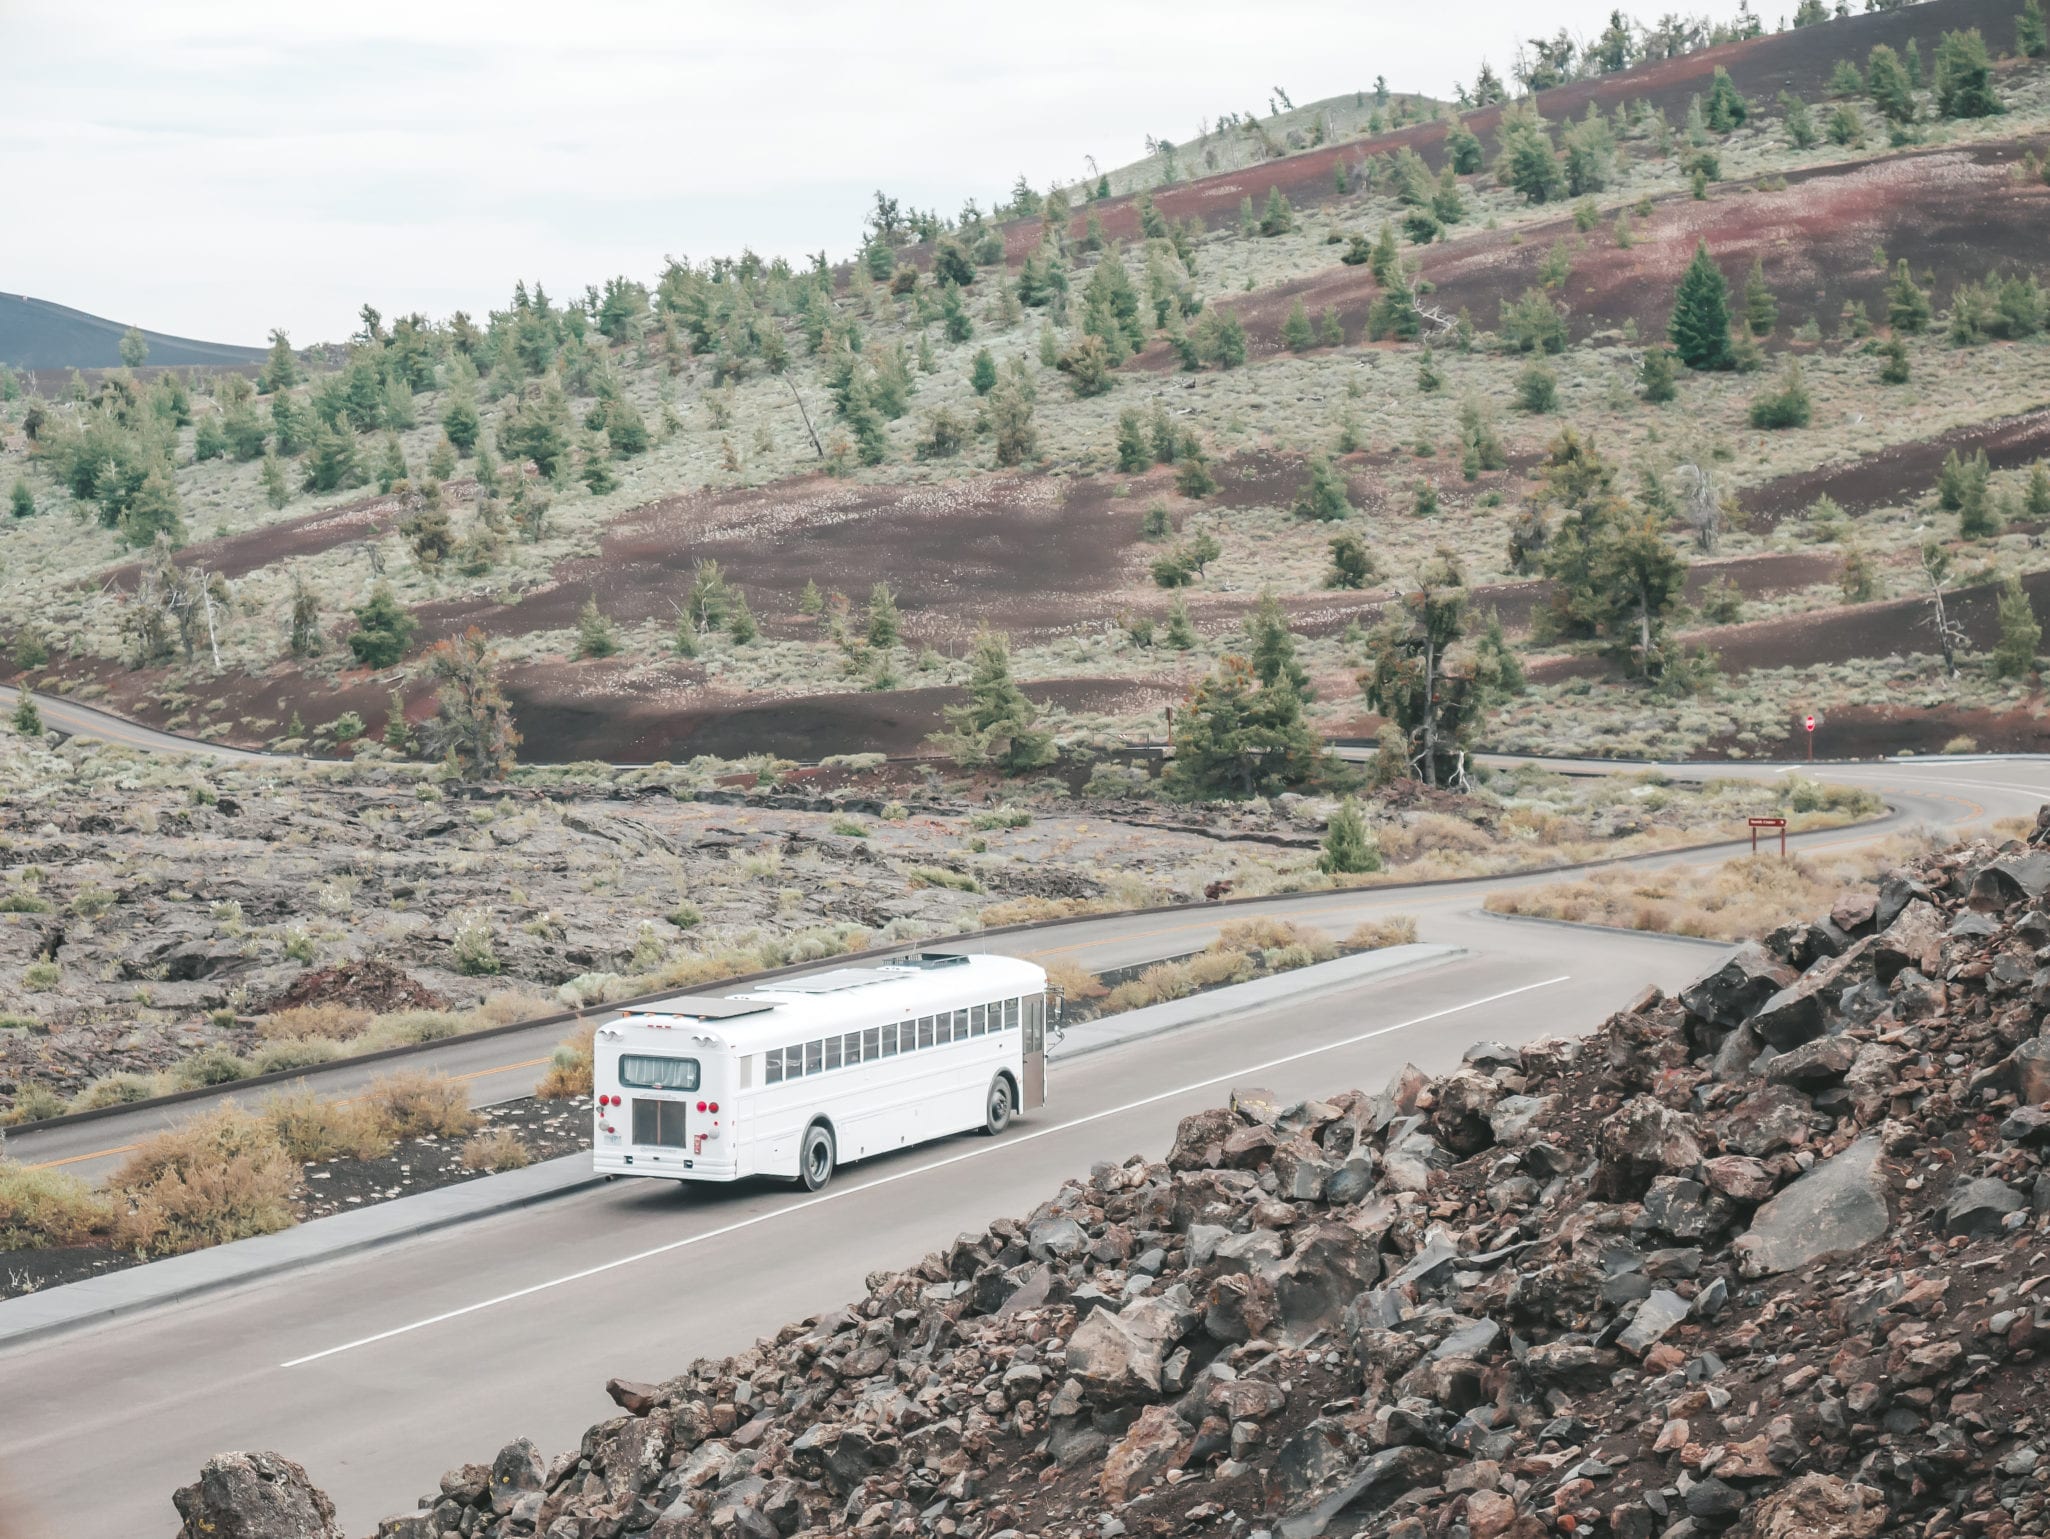
Our Skoolie Solar System

One of the most daunting aspects of the build, for us, was the skoolie solar system.
There’s just so much that we didn’t know – all the necessary components, how much solar to aim for, how big to make the battery bank – the list went on and on.
We poured hours of research into the topic. We read blogs and manuals and watched YouTube videos of installs and finally resorted to pulling in help in the from a leading solar company, SanTan Solar. Their experts helped us design the perfect system for our build.
Hoping to make your build a little easier, with less research and hairpulling than we experienced, I’m going to break down our entire system and what we learned in the process, as well as link you to every component in our system!
OUR SKOOLIE SOLAR SYSTEM
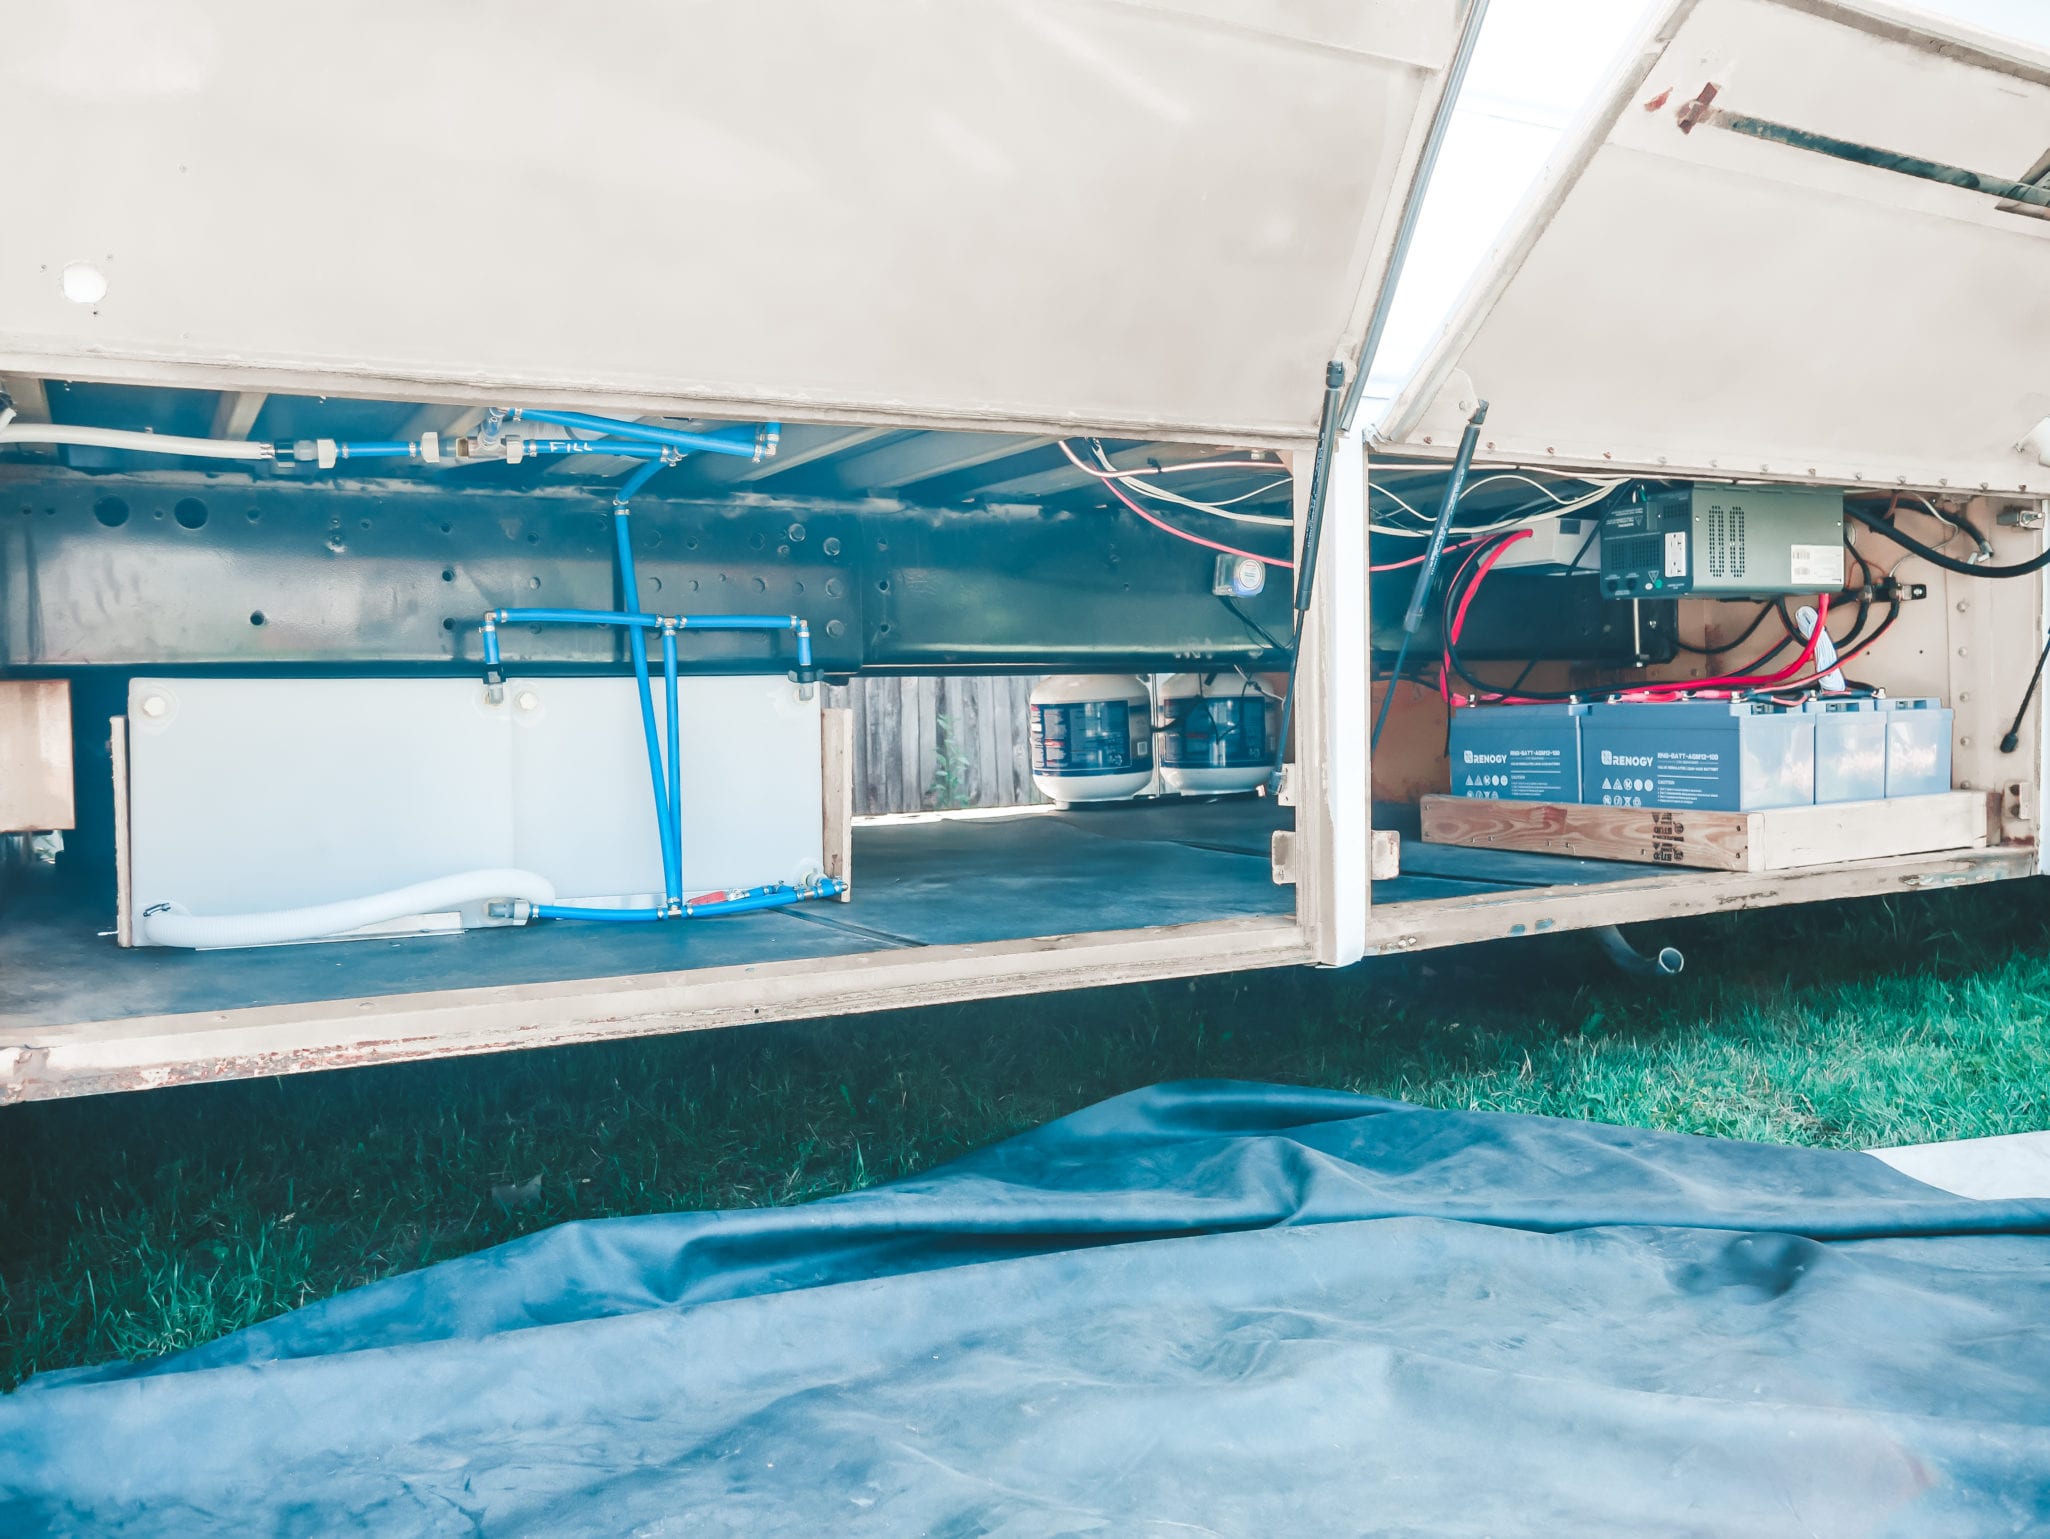
Our solar system consists of 1,230 watts of solar panels with a 600 amp-hour battery bank, with a 3,000 watt inverter and 100 amp charger controller between. We’ve actually upgraded our system several times over the years, and if there’s one piece of advice I would give, it would be to get the components you actually need/want upfront instead of skimping at the front hoping to save a few bucks. We did exactly that when we initially built, and we paid more over time upgrading cheap components that failed or small ones that should have been sized bigger. I will link to the exact components we currently use after living and learning, as well as premade kits from SanTan for those who don’t want to put in the work of sourcing individual components, at the end of this article.
I’m writing this post five years into living full-time in this rig, and now that we’ve upgraded our system, we’ve never run out of power. We’ve charged power tools and had movie nights running our TV and Playstation and accidentally left our computer running all night and even added appliances like a blender without issue!
What I won’t do in this article is break out the super technical jargon and calculations I learned along the way – instead, I will link you to the people who really know what they’re talking about and that we learned from.
This also eliminates the need for me to give the “I’m not an electrician” disclaimer. {Actually, disclaimer, since we’re on the topic: I am NOT an electrician, and whatever I include here is for informational purposes only. Do as we did and consult an actual electrician for your questions!}
No need to remake the wheel, right?
HOW MUCH SOLAR DO I NEED?
When we first started looking into solar, we got hung up for some time on this initial question. Here’s the thing – too little solar and you’ll be taxing and maxing out your system regularly. On the flip side, solar is a huge upfront investment in your build, and you have limited real estate to mount panels and store your batteries.
You’re looking for the baby bear of solar systems – just right.
Start by making a list of everything you plan on putting in your skoolie. Lights, appliances, gadgets, chargers – write them all down and the amps/watts they’ll pull during usage, as well as how many hours a day you’ll be using them.
From these calculations, you can get the numbers for sizing every part of your system, from the battery bank to the charge controller. We found this post from SkyWagonSkoolie helpful.
Helpful tip? Pick up this handy tool to get exact numbers. You plug it into your current appliances and gadgets and get an exact reading on watts being used during use and idle times. Super handy when you’re trying to get that “just right” system.
We ended up sizing up just slightly, to allow for future needs. Remember, no matter how good your calculations are, it’s still just theory. Our choices in fixtures and appliances and gadgets were pretty modest energy-wise, but we wanted to know that as we grew and added we would have some wiggle room.
WHAT COMPONENTS DO I NEED?
There is a myriad of add-on options to jazz up your solar system, but every system has a few main components.

The basics are:
- The panels use sunlight to create energy.
- That energy is run through the controller, which limits and controls it.
- The funneled-down energy is stored in your battery bank for future use.
- The stored energy is put through the inverter, which changes it from DC to AC {the kind you find in your home}.
- You turn on a light or plug in a charger and voila! Power!
The isolator is an additional little component that allows charging from your bus engine. This brings us to our next section.
HOW DO I WANT TO CHARGE MY SYSTEM?
Our system is charged via three sources.
- Our solar panels, as detailed above.
- Via the engine, when we drive. The alternator, which is responsible for charging the batteries on the bus, does a bang-up job of powering the house battery as well when we’re driving. That little isolator component I mentioned makes sure that energy only flows one way, meaning that if we’re sitting for long periods, the connection between the bus battery and house battery doesn’t drain our bus battery.
- Shore power. We can plug in when parked at RV sites or campgrounds that offer hookups, or when we’re staying with friends at their homes. We have an RV plug with an adapter for a standard three-prong plug so we can connect just about anywhere. We haven’t used this method often, as our solar system more than keeps up to the job, but it’s a nice backup to have for rainy or overcast seasons where the solar may not be able to meet all our needs.
OUR SKOOLIE SOLAR SYSTEM SHOPPING LIST
A little daunted at the idea of picking out each component of your system? We get it. From choosing which type of batteries to go with {lithium, AGM, lead-acid} to making sure your inverter and controller are sized right to deciding between panel designs, it can get a little overwhelming. We were lucky to have help from one of the leaders in solar, SanTan Solar. Their knowledgable staff walked us through our choices and helped us build the best system for our needs.
If you want to read through everything and understand your choices and do the homework, look for the resource links at the end. These are the blogs from which we got the most knowledge.
If you are looking to speed things up, however, I am including links to every part of our system as well as the ready-made kits SanTan provides that offer solutions for those that don’t want to shop individual parts.
(1) Victron MultiPlus 3,000 Inverter
(1) Victron MPPT SmartSolar Charge Controller
(3) 200Ah Power Queen Lithium Batteries
If you’re looking for some knowledge, this post, from Far Out Ride, was by far the most helpful article we encountered.
And we already mentioned this article, from SkyWagonSkoolie.
And finally, if you’re completely flummoxed by this time, ask the experts at SanTan with a quick email to their helpful customer service!
SOME EXTRA RESEARCH
Further topics to bone up on would be the pros and cons of the different battery types {lead-acid, AGM, and lithium}, the pros and cons of monocrystalline versus polycrystalline solar panels, the difference between AC and DC power and the applications of each, and how to create connection terminals for your battery bank and hook the different components up.
Again, we chose not to delve into these topics at length, because others have already done a splendid job at comprehensive guides, and because it really isn’t our area of expertise. We were helped along by skilled professionals who knew exactly what they were doing, which means we got to learn as they worked for our future knowledge while ensuring our system runs safely and efficiently.
This article is just our way of hooking you up with the exact products we used to give you a start for your own skoolie solar system.
However, if you do have questions relating to our build, we are totally happy to help however we can! Just drop us a line at info@sincewewokeup.com and we’ll get back to you as quickly as we can!

Since We Woke Up, The Book
You May Also Like

The Real Buslife of Cheshire: Skoolie Feature Friday
Wander Jah Buslife: Skoolie Feature Friday