Creating Your Own Apothecary
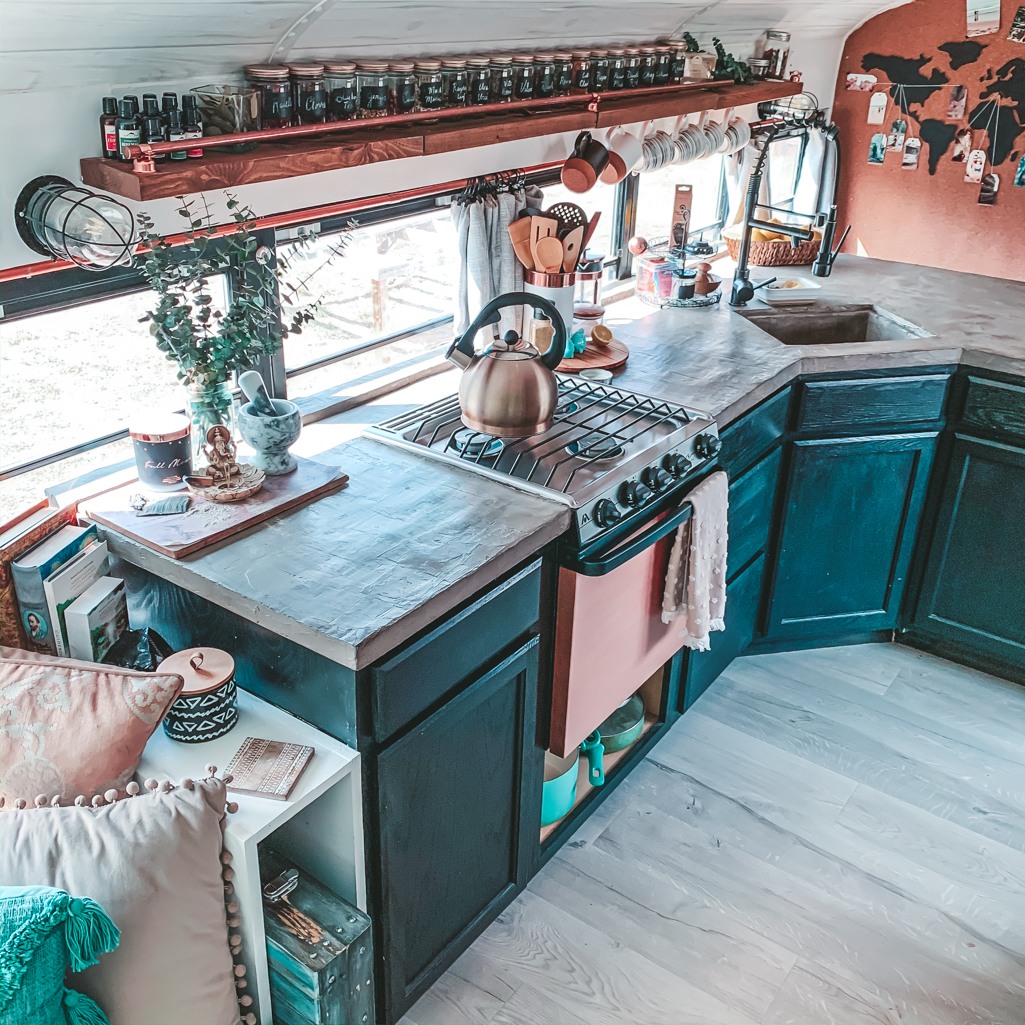
For quite a long time, we had an open shelf in our kitchen that didn’t really hold anything – partly because we didn’t have anything to put there, and partly because whatever was up there was required to come down while the bus was moving or face an imminent demise on the first corner we turned.
Thanks to a myriad of health issues and growing concerns about the products we used in our little home on wheels, I’ve been moving toward more DIY home and body care products for a while now.
It recently occurred to me as I was blending a new batch of shampoo that the process of creating these products would be a lot easier if I had a better place to store frequently used herbs. And then I looked up at eight feet of shelving sitting unused and it hit – I could create my own apothecary here on the bus!
If you’ve been interested in creating your own apothecary, here’s a pretty simple DIY way to do it on the cheap and reuse some materials while you’re at it!
CREATING YOUR OWN APOTHECARY
So what is an apothecary?
In short, an apothecary is a person who provides medicinal herbs and drugs or the location in which that takes place – in other words, a pharmacy. Many people have chosen to have a small apothecary of their own at home, a place where they store the remedies that work for their particular ailments.
While I’ve worked with herbs for quite a while now, I’ve never really had any dedicated space for them outside a stash in my cupboard. But as my interest and knowledge in plants and plant medicine has grown, I’ve found myself wanting to dedicate real space to these little powerhouses – a place where I could create and have quick access to my favorites.
These were my considerations.
CHOOSE YOUR SPOT
For me, with limited space, this was less a matter of choosing the ideal spot and more of putting them where they would fit. However, when you can, choose a spot that remains a cool, stable temperature and doesn’t receive a ton of direct light. This shelf does filter most light but isn’t ideal right above a cookstove where it is subjected to temperature and moisture fluctuations. I figure since I have to use small jars to fit the small shelf, the herbs will be used before they have a chance to spoil.
CHOOSE YOUR HERBS
I get 95% of my herbs from Mountain Rose Herbs. Why?
Because I want to know that what I’m using in my body and around my home is the best. As these herbs are used daily in teas, cooking, tinctures, body care items, and cleaning products, I need to know that they’re high quality.
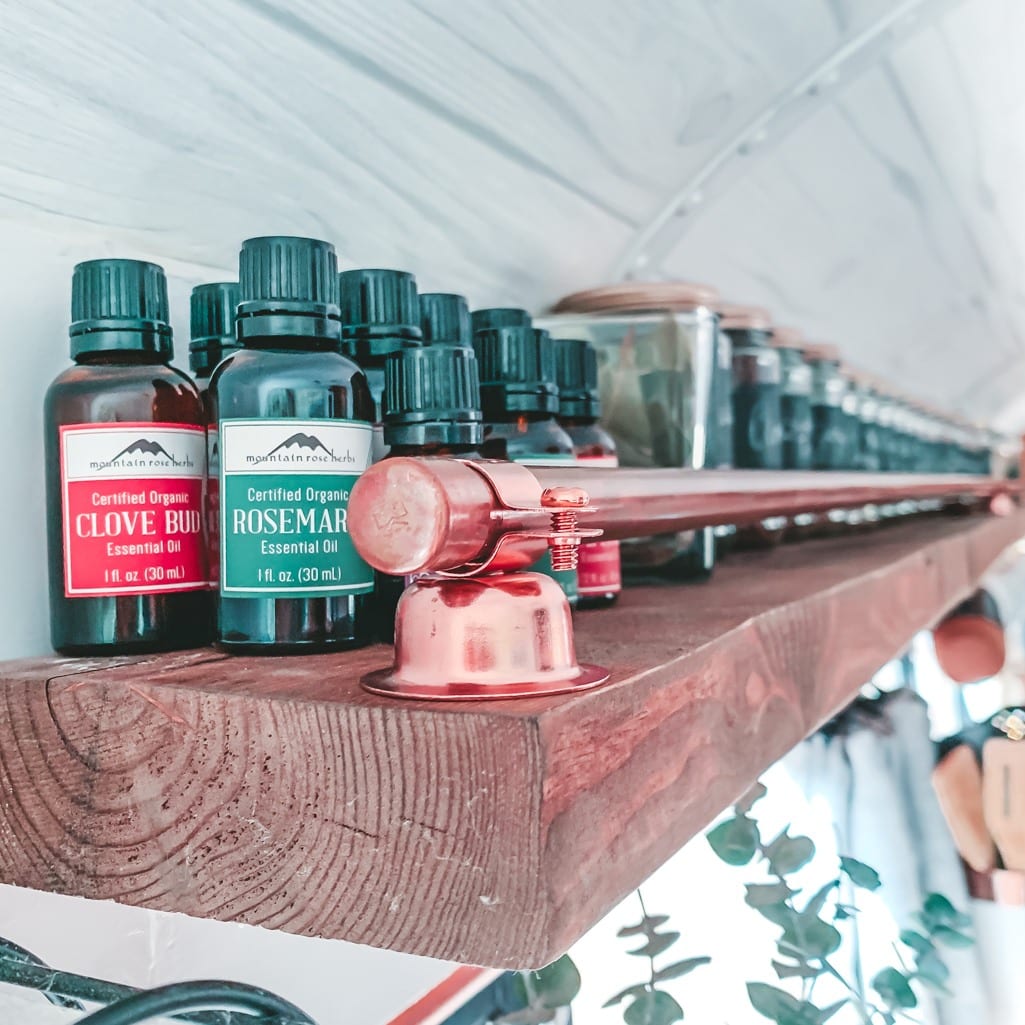
Mountain Rose Herbs doesn’t just offer amazing herbs and oils that are of superior quality and grown in the best way possible. They focus on organic agriculture, fair trade standards, and sustainable business practices. This company pays attention to the effect its business has on the environment, and I can get behind a company that puts zero-waste practices and the welfare of the planet ahead of its bottom line.
The herbs I choose to use change frequently. I find that different seasons call for different tastes and scents, and the blends I create change according to that and what my body needs at that time.
The herbs you can almost always find on my shelf, that have uses ranging from overall immunity to women’s health, are these:
- Ginger
- Rosella
- Echinacea
- Reishi
- Dandelion
- Uva Ursi
- Vitex Berries
- Raspberry Leaf
- Chaga
- Peppermint
- Cat’s Claw
- Cloves
If you’re unsure where to start with herbs, Mountain Rose has a brilliant website that contains all kinds of useful information on how to choose the right herbs for you.
CHOOSE YOUR STORAGE METHOD
You’ll want airtight jars for your apothecary. I like clear jars for individual herbs and brown or green colored containers for my body care and cleaning products. I ordered these brown jars with lids, spray attachments, and pump lids for my finished body and home products.
I prefer dark-colored glass for my creations because these are more prone to spoilage than dry herbs, and these bottles help prevent light from degrading a finished product.
Now if, like me, you’re looking to create your own apothecary on the cheap while avoiding buying new stuff, check out my solution to apothecary storage!
MY DIY METHOD FOR CREATING HERB STORAGE CONTAINERS
We go through about 2 jars of almond butter a week – Mike has a habit.
Normally, we recycle the glass jars, but when I knew I was going to put up the apothecary shelf I started hoarding them!
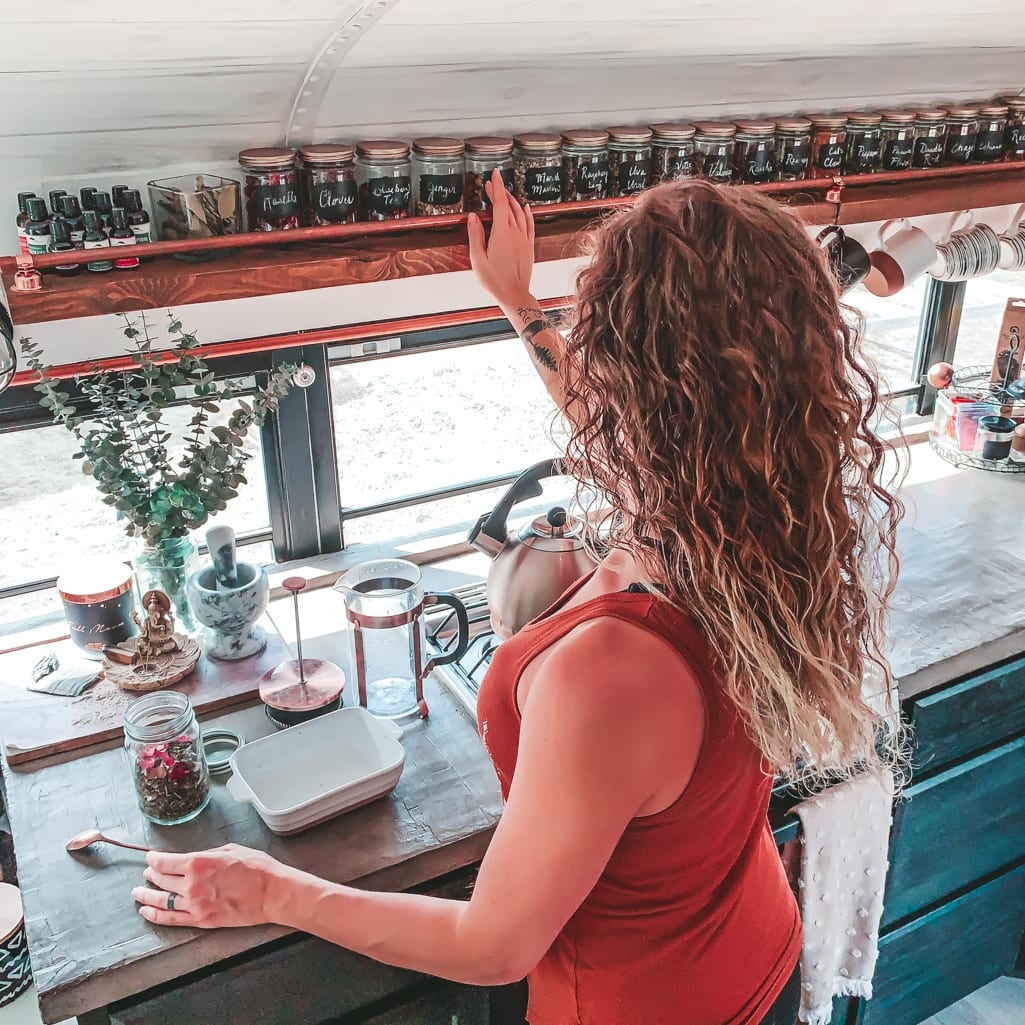
You can see a video highlight of the process on our Instagram IGTV, but the basic steps I took were:
- Use a blow dryer to warm up the glue on the almond butter label and then peel it off.
- Mix baking soda and olive oil and rub it on any remaining sticky residue.
- Wash the jars in and out with soapy water and let dry.
- While the jars are drying, lay the lids out and hit them with your choice of spraypaint, if you don’t like the current color of the lid.
- Use matte black paint or chalkboard paint to swipe a rectangle on the front.
- Once dry, add herbs into the jar, screw on your lids, and use chalk to write the name of the herb on the jar!
CREATING YOUR OWN APOTHECARY ON THE CHEAP
Creating your own apothecary doesn’t have to be hard or expensive.
The most expensive part of our little apothecary shelf was the copper pipe we purchased to create a ledge on the shelf to hold the jars in place while we drive. Everything else was materials we already had and some paint to jazz them up!
What do you think of the finished product – much better than that old empty shelf, right?
In the coming weeks, I will be working to create a new section here on the website where you’ll be able to find recipes and ideas for using those herbs now that you have a place to store them!
Want to see more of our little apothecary project? Visit our Instagram!


